
Back to: Cricut & Etsy
HEAT TRANSFER VINYL (HTV)
Heat transfer vinyl (sometimes referred as iron-on or t-shirt vinyl) is simple heat activated adhesive that can be applied to a wide range of materials including wood. When transferring your vinyl to a surface you can use a heat press or basic household flat iron.
For smooth HTV, the recommended temperature ranges from 300-315o F. Cricut has a heat guide to help determine which HTV is best for certain fabrics and at what temperature to heat them on.
HTV doesn’t have a paper backing. Instead, it has a clear plastic carrier sheet covering the top portion of the vinyl. The opposite side is the adhesive. The adhesive is not sticky or tacky to touch (until activated by heat). This is the side that will cut.
TIPS:
Pre-wash your fabric before applying HTV.
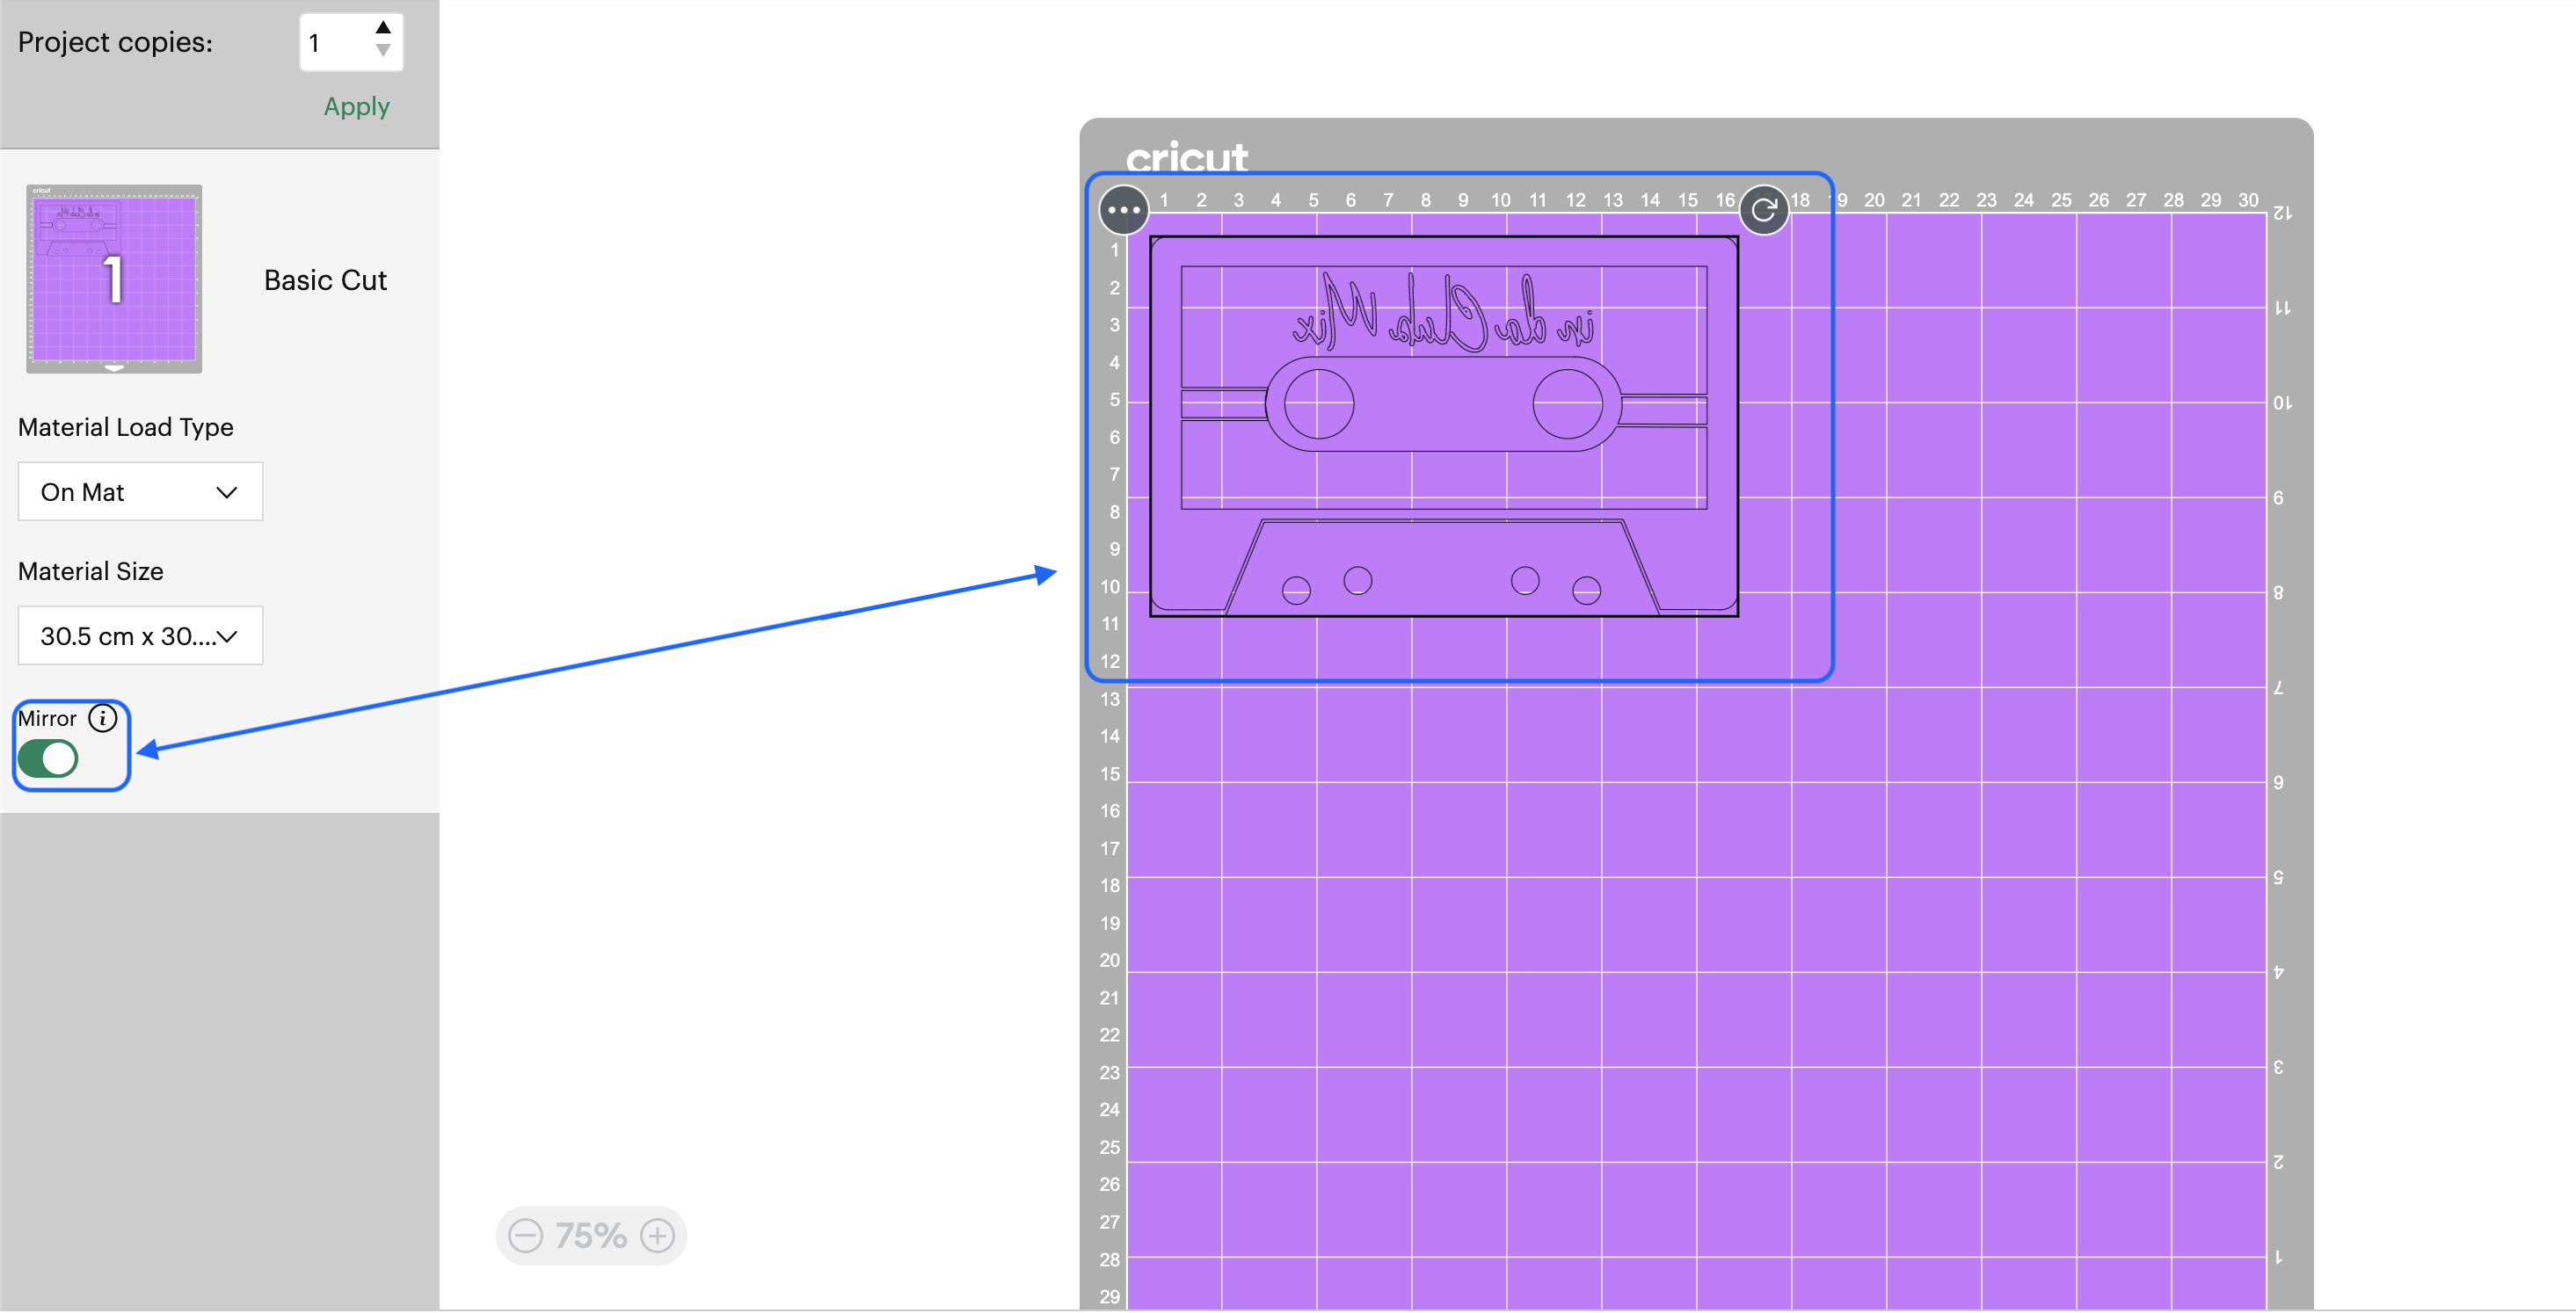
Before cutting make sure to mirror the design!!!
Beware of sizing constrictions; both for your surface and Design Space!
STEP-BY-STEP DEMO
DESIGN:
- Create your design in Design Space by either with Cricuts Images or Uploading a .svg file.
- Attach all the elements you are going to cut out. Then press “Make” button.
- Arrange your design where you want it on the mat. Important before hitting continue go over to the left of the screen. Under “Basic Cut” there is a “mirror” option. Click it on to mirror your design.
- Connect to your Machine.
- Select Everyday Iron-On from the list of materials. Remember if HTV you are using is glitter or foil then to choose the appropriate setting for that vinyl e.g Iron-on Foil. If you are using a Cricut Explorer, turn Smart Set Dial to Custom.
- Choose the more option for the blade pressure. This will ensure that you will cut through the vinyl.
- Place Iron-on sheet, liner side down, onto Cricut Standard Grip (Green one) cutting mat. If you’re using Smart Iron-On with Cricut Joy, it may be loaded into the machine without the mat.
- Load it into the machine and cut your design.
- When the cut is complete, unload and then weed your design.
WEEDING AND APPLYING:
- Preheat your press or iron.
- Preheat the base material as instructed in the Cricut Heat Guide.
- To find the center of your t-shirt folded in half and iron in to create a crease to align your design.
- Place your design on the base material with the shiny side up. Put a piece of parchment paper on top of the design.
- Apply heat as instructed in the Cricut Heat Guide.
- If you are using an everyday flat iron do not move it around while applying heat. Firmly press down for the appropriate amount of time.
- If your design is large the iron’s area; press in sections
- Flip the base material over and apply heat to the back of the design.
- Use a cool peel to remove the liner.
- What is a peel? A peel refers to moving the clear iron-on liner after applying iron-on material to your project surface.
- Cool Peel: Allow to cool completely before removing the liner. Removing it while still hot or warm may prevent your iron-on image from properly adhering to your material. Refer to the Cricut Heat Guide.
- Warm Peel: Remove the liner while it is still warm to the touch (not hot). Removing it after it cools may prevent your iron-on image from properly adhering to your material. Refer to the Cricut Heat Guide for which iron-on vinyl and surface require a warm peel.
